Arc A730M PCIe 4 Guide: Boost Your Data Performance
🚀 Boost your data processing with the Intel Arc A730M PCIe 4 graphics card. Learn efficiency secrets now!
Tired seats? ✅ Revamp your drive with our DIY memory foam car seat upgrade guide! 🛠️ Boost comfort & support without breaking the bank. 🚗💨 Read the full breakdown →

Stuck in traffic on the N1? Your back probably hates your car seat as much as your PC hates a cheap power supply. We spend hours optimising our gaming rigs for peak performance and comfort, but what about our daily drive? This easy DIY memory foam car seat upgrade guide brings that gaming chair luxury to your vehicle, turning a painful commute into a comfortable cruise. Let’s get your throne sorted. 🚗✨
Before we get our hands dirty, let's talk benefits. The standard foam in most car seats is chosen for durability, not necessarily for personalised comfort. It compresses over time, leading to back pain and fatigue, especially on long trips.
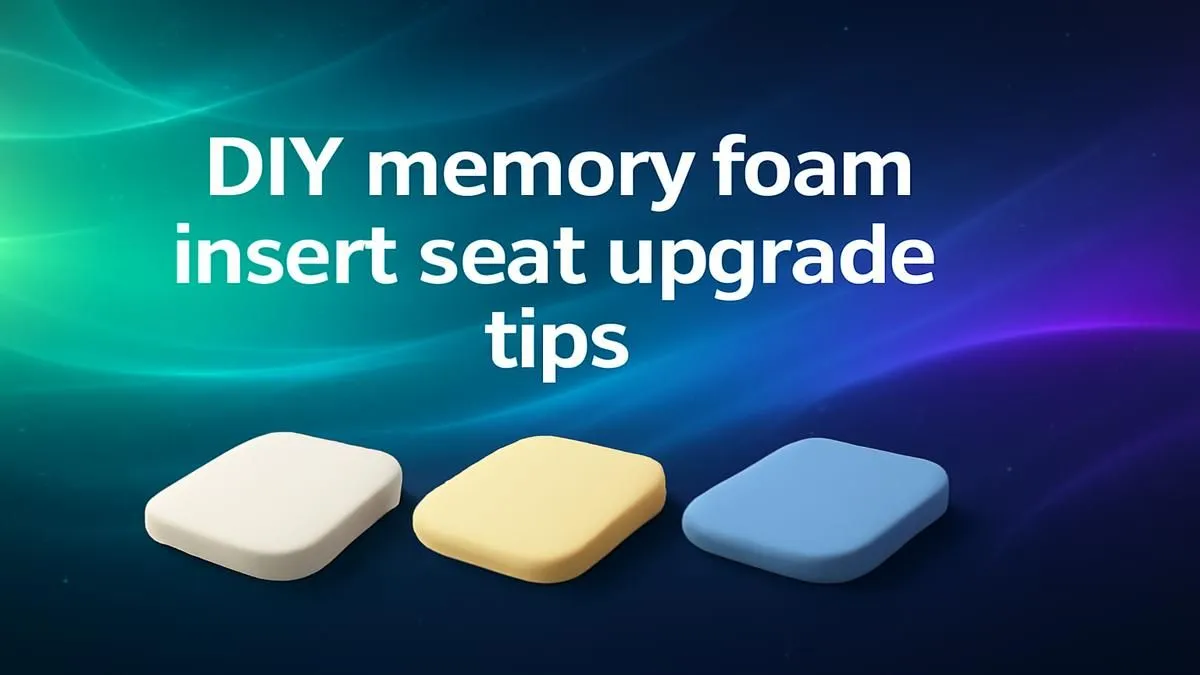
A DIY memory foam car seat upgrade offers a simple solution. Memory foam, or viscoelastic foam, contours to your body using your heat and pressure, providing superior support and relieving pressure points. It's the same tech that makes premium gaming chairs feel so incredible during a marathon session. By adding a layer yourself, you get a taste of that high-end comfort for a fraction of the cost, making every drive feel first-class.
This project is surprisingly simple. You won't need a full workshop, just a few key items:
The goal is an easy, custom comfort upgrade for your car seat, not a full re-upholstery job. For those who appreciate expertly engineered ergonomics right out of the box, exploring the world of purpose-built gaming chairs in South Africa can show you the pinnacle of seating technology.
Look for foam with a density of at least 45 kg m³. Higher density means better support and longevity. It won't flatten out as quickly, giving you lasting comfort for that custom car seat project.
Ready? Here’s how to add memory foam to your car seat for that plush, supportive feel.
First, measure the seat base where you'll be placing the foam. You want to cover the main seating area without interfering with the side bolsters or seatbelt clips. Place your memory foam sheet on a flat surface and use your measurements to draw the shape onto the foam with a marker. Double-check your lines before you cut.
Using your heavy-duty scissors or an electric knife, carefully cut along the lines you traced. An electric knife works wonders here, giving you a much cleaner edge than scissors. Take your time for a precise fit. This is the most crucial part of your DIY memory foam car seat upgrade.
Place the cut piece of foam directly onto your car seat. Sit on it. Does it feel right? Does it cover the right spots? Now is the time to make small trims and adjustments for that perfect, custom fit. You might find you want it slightly shorter or narrower.
You have two choices here. For a non-permanent, easily removable upgrade, simply place a seat cover over the foam to hold it in place. This is great for testing or for leased vehicles. For a more permanent fix, you can use a few dabs of fabric-safe spray adhesive to tack the foam to the seat before putting your cover back on.
This simple modification delivers a huge return on comfort. While this DIY approach is fantastic, if you find yourself wanting even more advanced features like adjustable lumbar support and 4D armrests, remember that even some chairs under R4000 now offer these benefits. For the ultimate setup, some premium options above R4000 integrate these features flawlessly.
And that's it! You've successfully completed your own car seat comfort upgrade. Enjoy the ride! 🚀
Ready for Ultimate Comfort? If DIY isn't your style, get that elite comfort and ergonomic support straight out of the box. Check out the best gaming chair deals at Evetech and give your back the upgrade it truly deserves.
Opt for 1.8–2.5 lb/ft³ density; enhances comfort & durability.
Yes! Cut precisely & secure with adhesive for a budget-friendly DIY fix.
Regularly vacuum & use fabric protectors; ensures lasting shape & support.
Electric carving knife & heat gun simplify trimming & contouring.
Adaptable to most vehicles; tailor size using DIY upgrade tutorials.
DIY saves 70%; use quality foam & follow car seat upgrade steps.